chevron_leftTillbaka till objektet
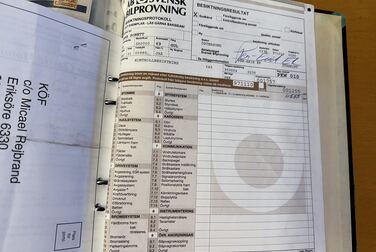
Dokumentation för 1969 Saab Sonett II (28)
chevron_left
chevron_right
  • #<Image:0x00007f448006d210>
  • #<Image:0x00007f448006d0d0>
  • #<Image:0x00007f448006cf90>
  • #<Image:0x00007f448006cd10>
  • #<Image:0x00007f448006cbd0>
  • #<Image:0x00007f448006ca90>
  • #<Image:0x00007f448006c950>
  • #<Image:0x00007f448006c810>
  • #<Image:0x00007f448006c6d0>
  • #<Image:0x00007f448006c590>
  • #<Image:0x00007f448006c450>
  • #<Image:0x00007f448006c310>
  • #<Image:0x00007f448006c1d0>
  • #<Image:0x00007f448006c090>
  • #<Image:0x00007f448006bf50>
  • #<Image:0x00007f448006be10>
  • #<Image:0x00007f448006bcd0>
  • #<Image:0x00007f448006bb90>
  • #<Image:0x00007f448006ba50>
  • #<Image:0x00007f448006b910>
  • #<Image:0x00007f448006b7d0>
  • #<Image:0x00007f448006b410>
  • #<Image:0x00007f448006b2d0>
  • #<Image:0x00007f448006b190>
  • #<Image:0x00007f448006b050>
  • #<Image:0x00007f448006af10>
  • #<Image:0x00007f448006add0>
  • #<Image:0x00007f448006ac90>
  • #<Image:0x00007f448006ab50>
  • #<Image:0x00007f448006aa10>
  • #<Image:0x00007f448006a8d0>
  • #<Image:0x00007f448006a790>