chevron_leftTillbaka till objektet
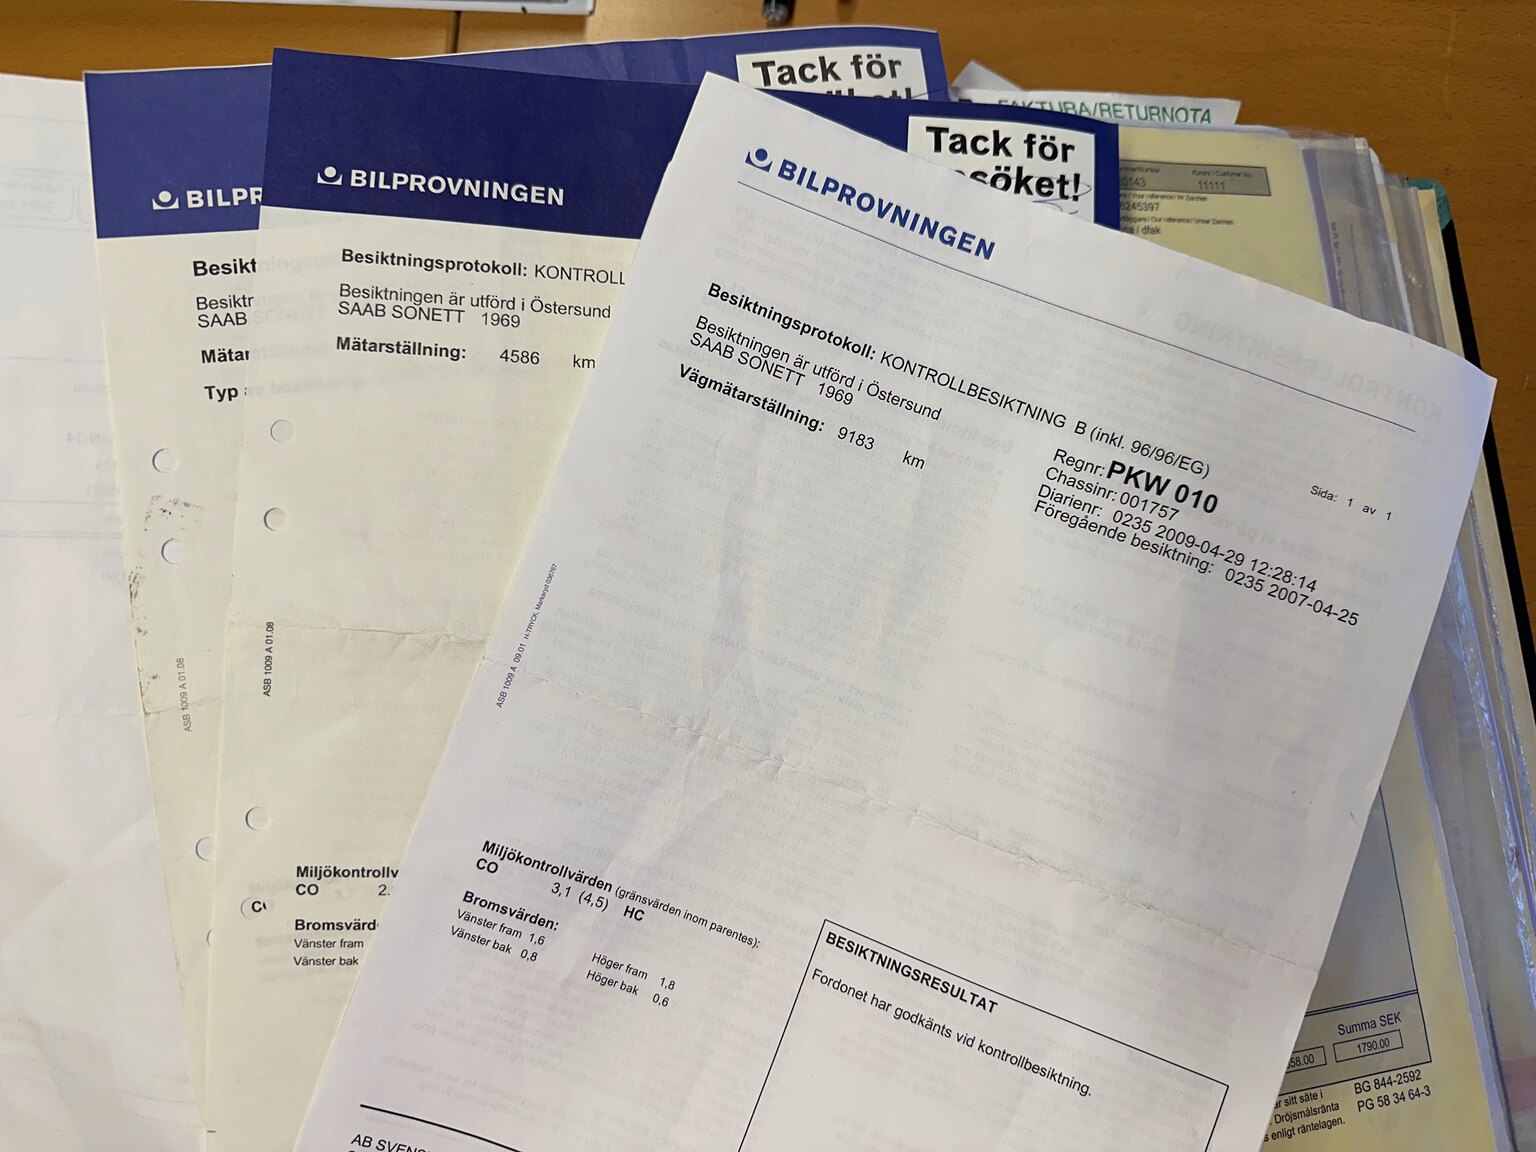
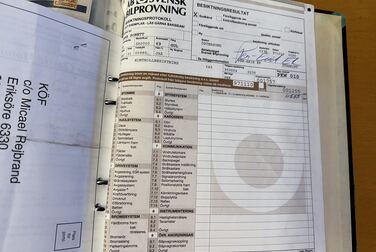
Dokumentation för 1969 Saab Sonett II (1)
chevron_left
chevron_right
  • #<Image:0x00007f447944be10>
  • #<Image:0x00007f447944bcd0>
  • #<Image:0x00007f447944bb90>
  • #<Image:0x00007f447944ba50>
  • #<Image:0x00007f447944b910>
  • #<Image:0x00007f447944b7d0>
  • #<Image:0x00007f447944b690>
  • #<Image:0x00007f447944b550>
  • #<Image:0x00007f447944b410>
  • #<Image:0x00007f447944b2d0>
  • #<Image:0x00007f447944b190>
  • #<Image:0x00007f447944b050>
  • #<Image:0x00007f447944af10>
  • #<Image:0x00007f447944add0>
  • #<Image:0x00007f447944ac90>
  • #<Image:0x00007f447944ab50>
  • #<Image:0x00007f447944aa10>
  • #<Image:0x00007f447944a8d0>
  • #<Image:0x00007f447944a790>
  • #<Image:0x00007f447944a650>
  • #<Image:0x00007f447944a510>
  • #<Image:0x00007f447944a3d0>
  • #<Image:0x00007f447944a290>
  • #<Image:0x00007f447944a150>
  • #<Image:0x00007f447944a010>
  • #<Image:0x00007f4479449ed0>
  • #<Image:0x00007f4479449d90>
  • #<Image:0x00007f4479449c50>
  • #<Image:0x00007f4479449b10>
  • #<Image:0x00007f44794499d0>
  • #<Image:0x00007f4479449890>
  • #<Image:0x00007f4479449750>