chevron_leftTillbaka till objektet
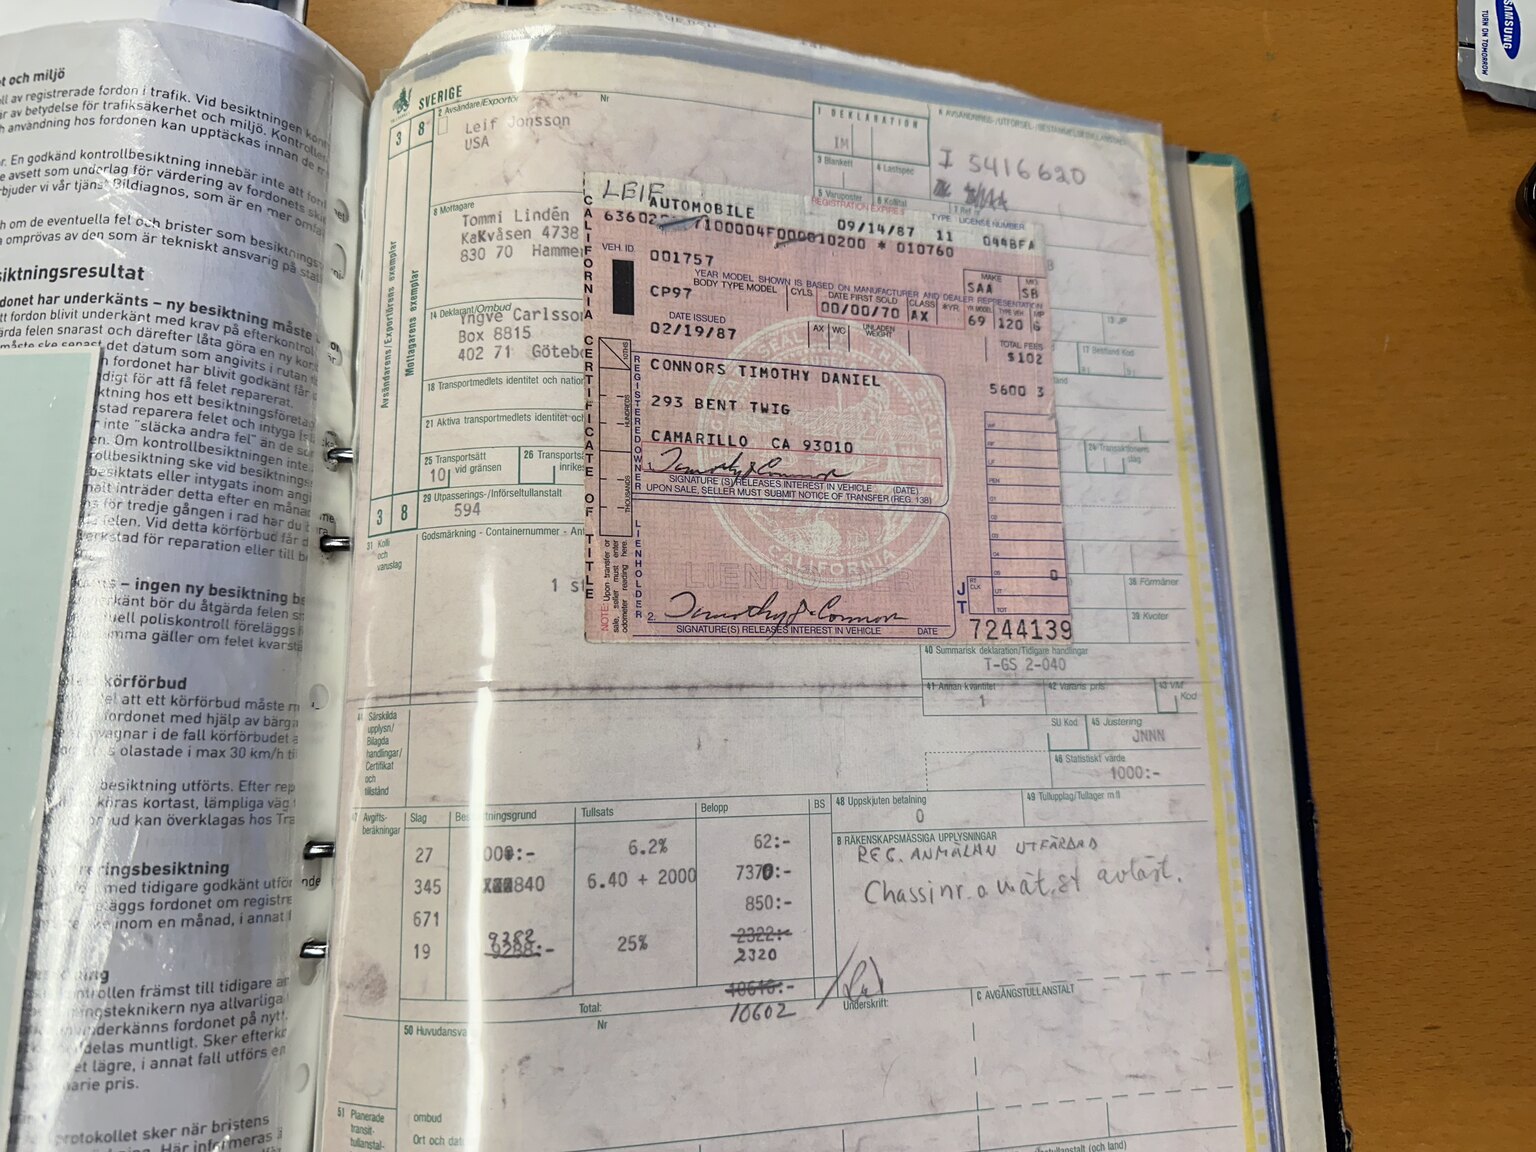
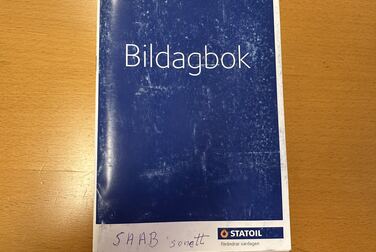
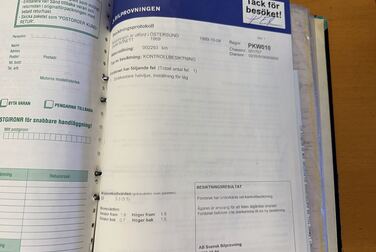
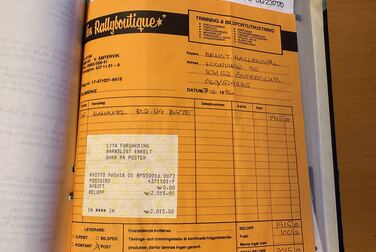
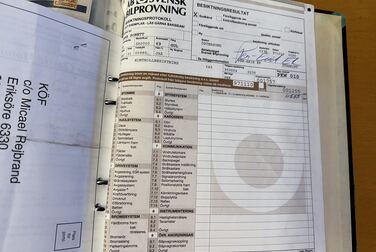
Dokumentation för 1969 Saab Sonett II (22)
chevron_left
chevron_right
  • #<Image:0x00007f447680b7d8>
  • #<Image:0x00007f447680b698>
  • #<Image:0x00007f447680b558>
  • #<Image:0x00007f447680b418>
  • #<Image:0x00007f447680b2d8>
  • #<Image:0x00007f447680b198>
  • #<Image:0x00007f447680b058>
  • #<Image:0x00007f447680af18>
  • #<Image:0x00007f447680add8>
  • #<Image:0x00007f447680ac98>
  • #<Image:0x00007f447680ab58>
  • #<Image:0x00007f447680aa18>
  • #<Image:0x00007f447680a8d8>
  • #<Image:0x00007f447680a798>
  • #<Image:0x00007f447680a658>
  • #<Image:0x00007f447680a518>
  • #<Image:0x00007f447680a3d8>
  • #<Image:0x00007f447680a298>
  • #<Image:0x00007f447680a158>
  • #<Image:0x00007f447680a018>
  • #<Image:0x00007f4476809ed8>
  • #<Image:0x00007f4476809d98>
  • #<Image:0x00007f4476809c58>
  • #<Image:0x00007f4476809b18>
  • #<Image:0x00007f44768099d8>
  • #<Image:0x00007f4476809898>
  • #<Image:0x00007f4476809758>
  • #<Image:0x00007f4476809618>
  • #<Image:0x00007f44768094d8>
  • #<Image:0x00007f4476809398>
  • #<Image:0x00007f4476809258>
  • #<Image:0x00007f4476809118>