chevron_leftBack to auction
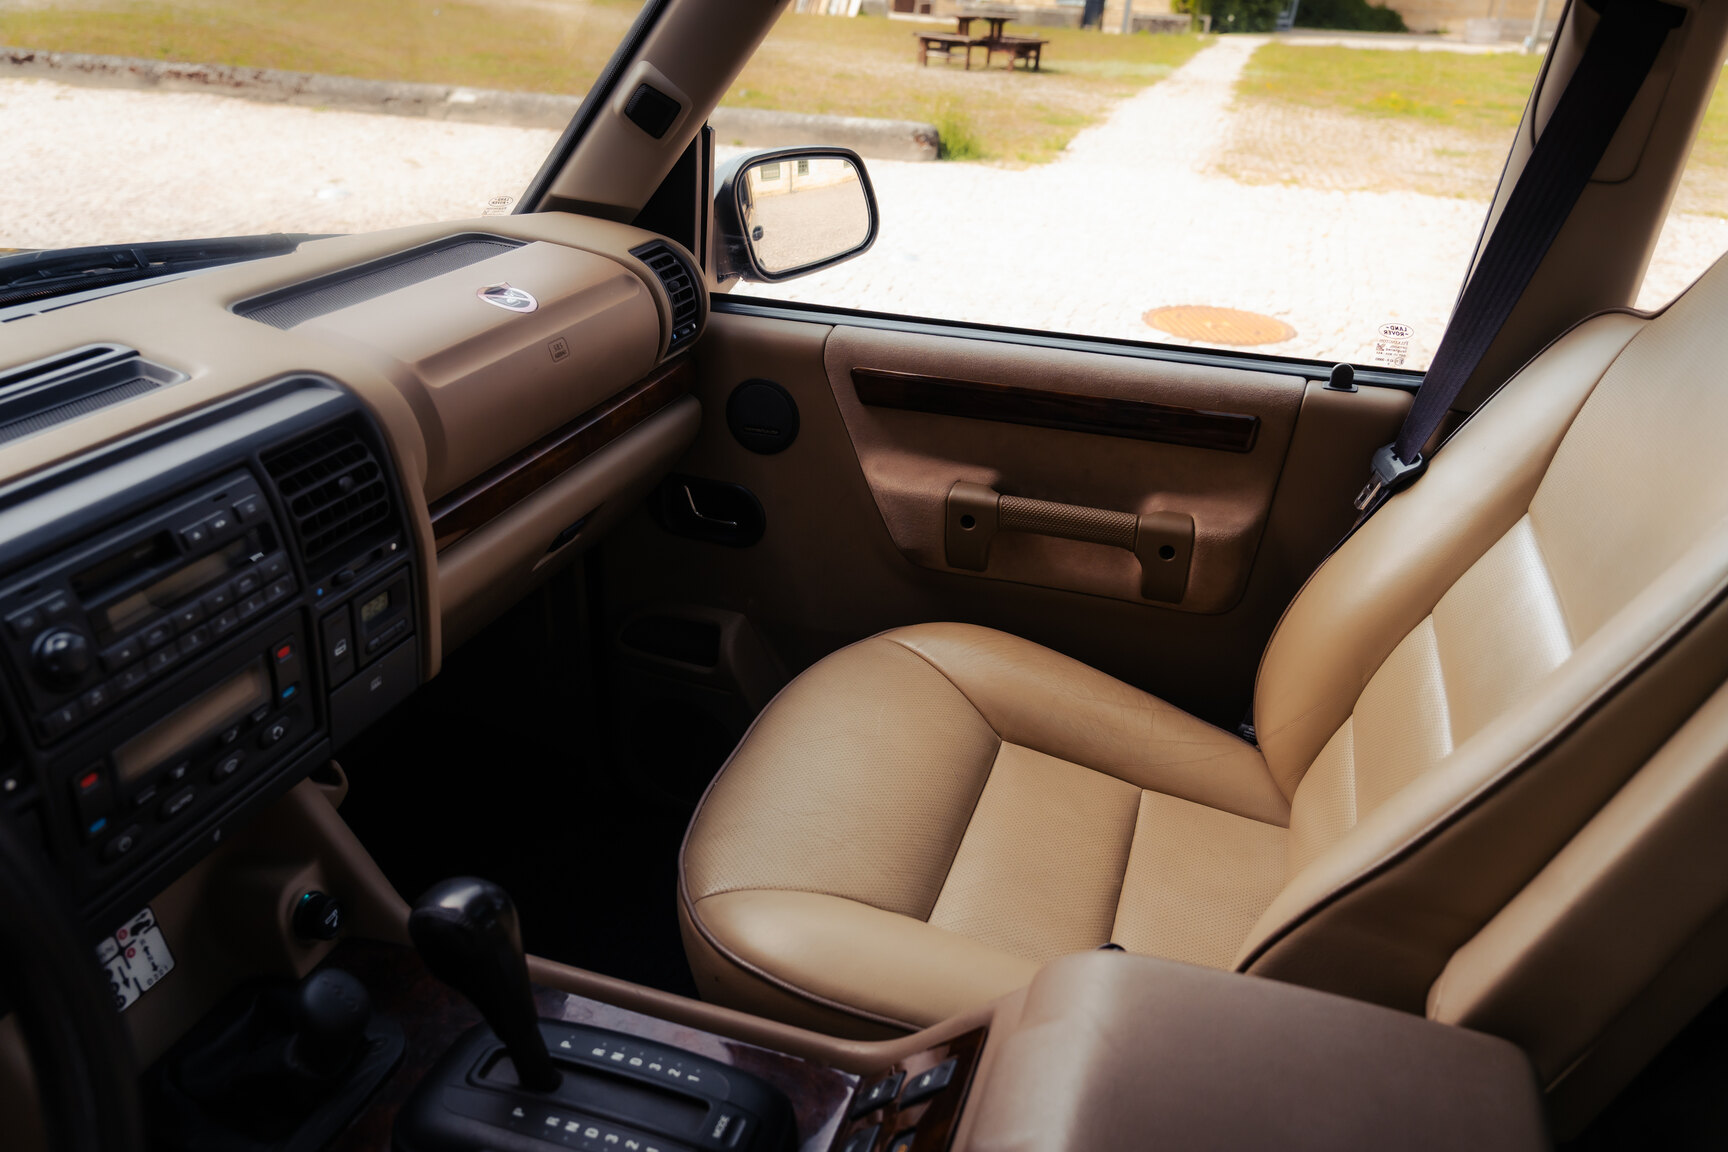
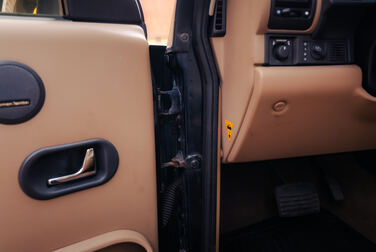
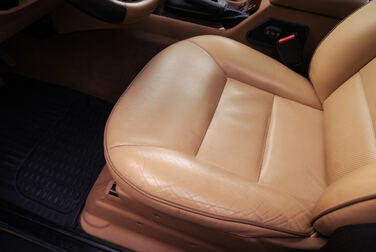
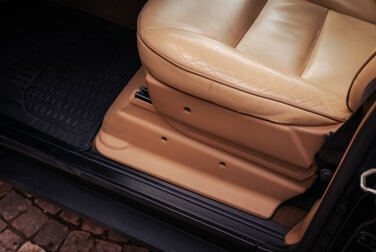
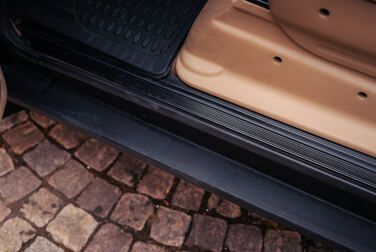
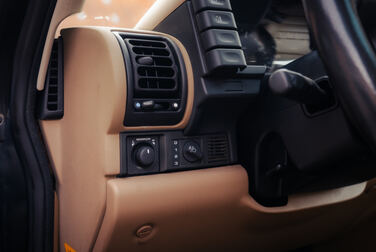
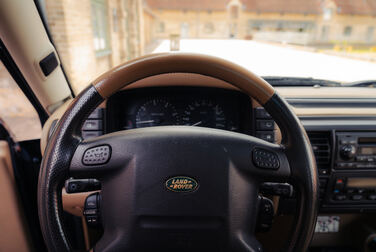
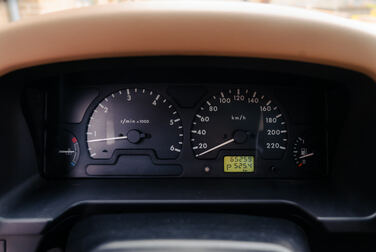
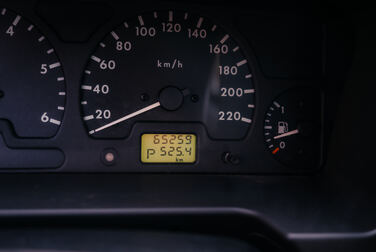
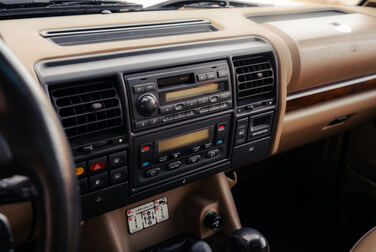
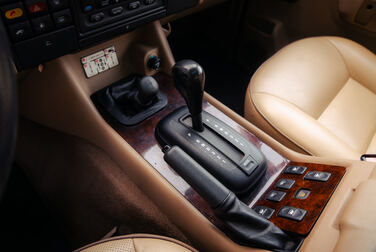
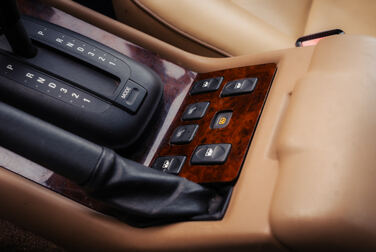
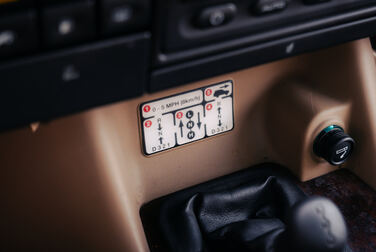
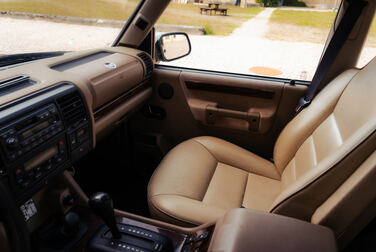
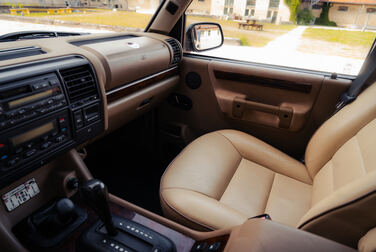
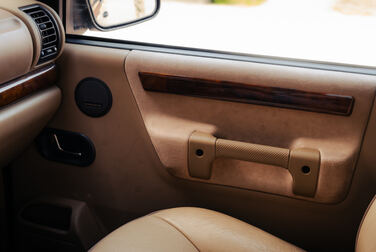
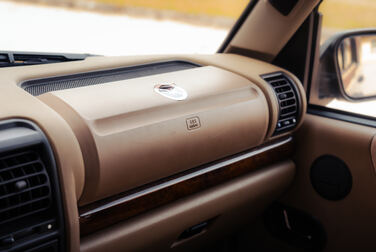
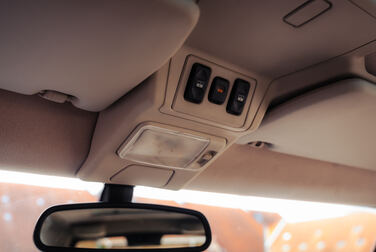
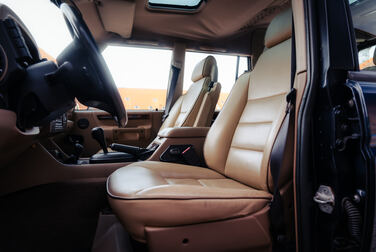
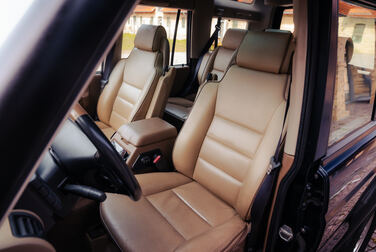
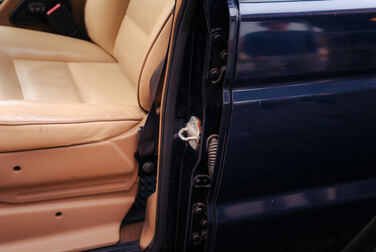
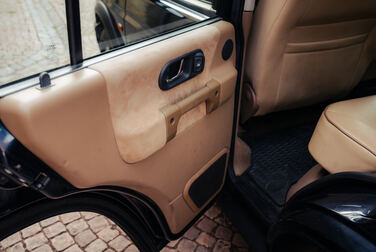
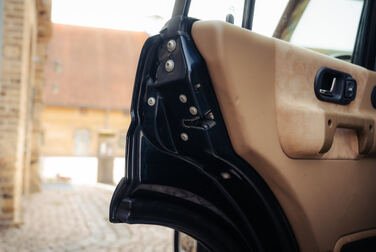
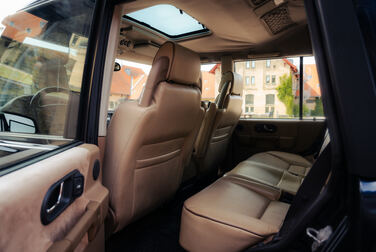
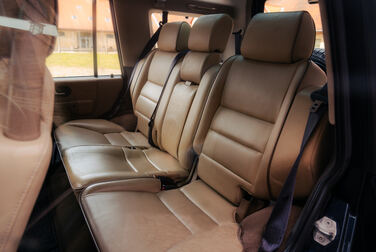
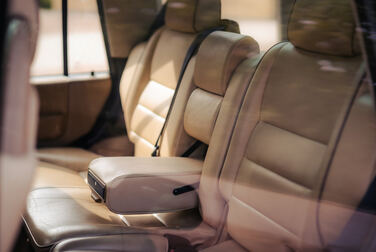
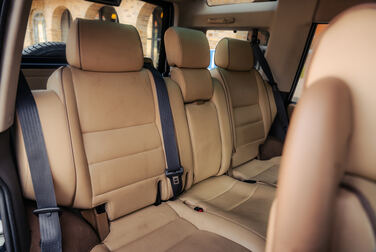
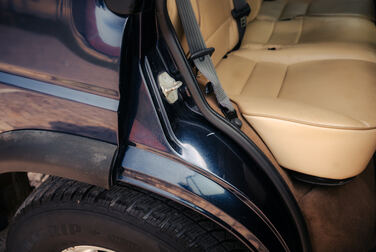
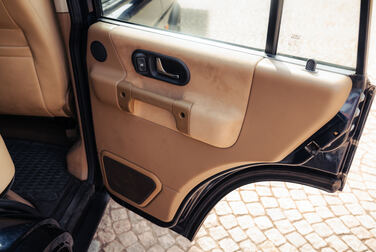
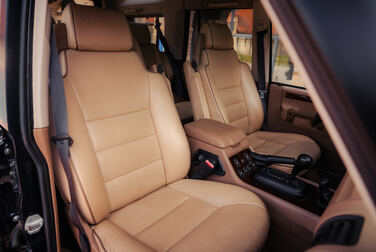
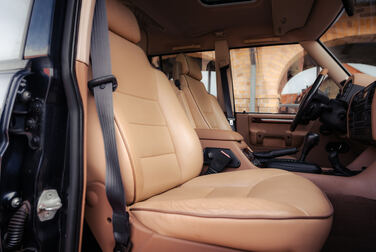
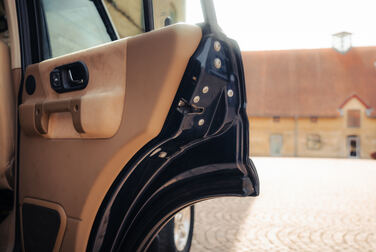
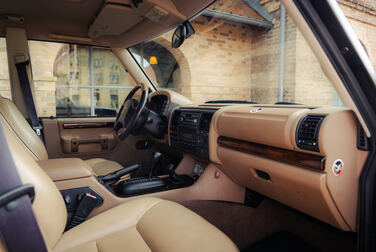
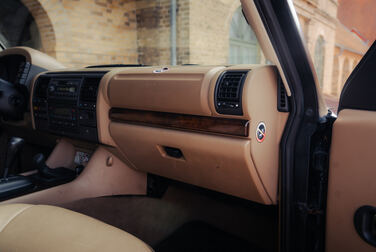
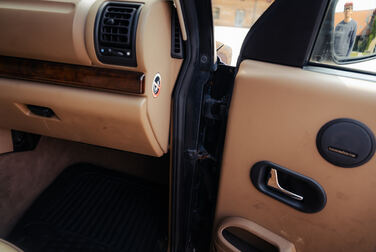
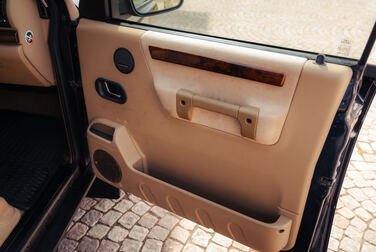
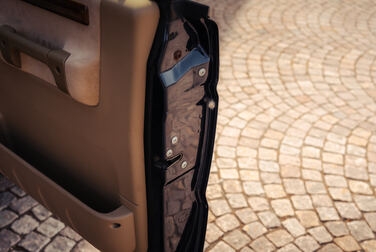
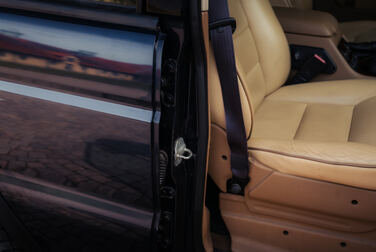
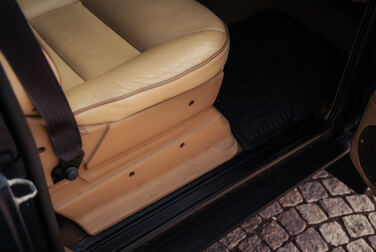
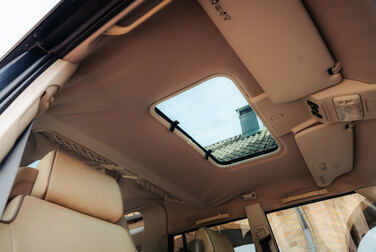
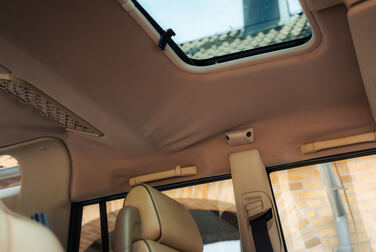
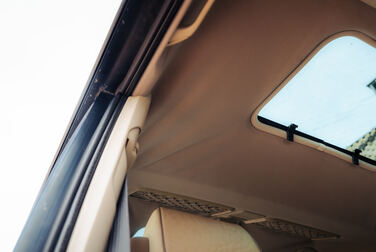
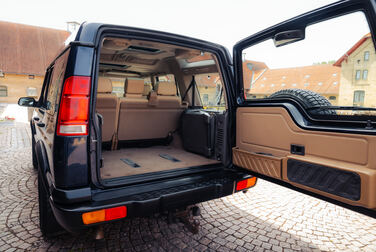
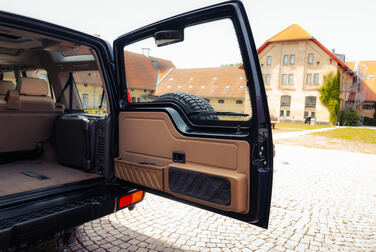
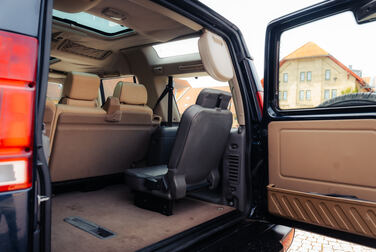
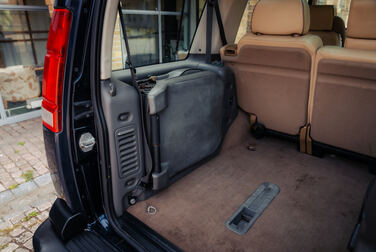
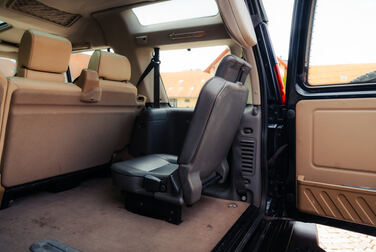
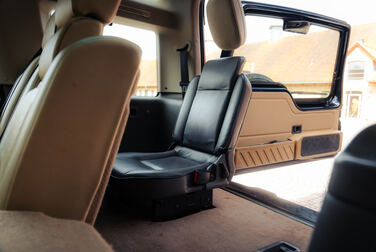
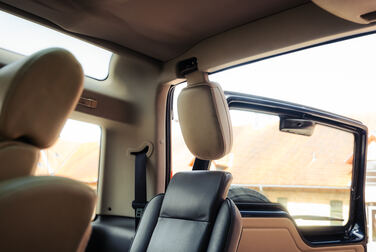
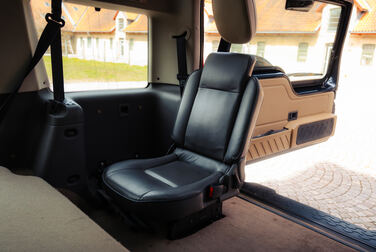
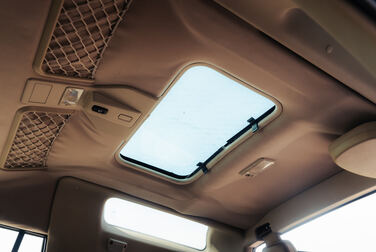
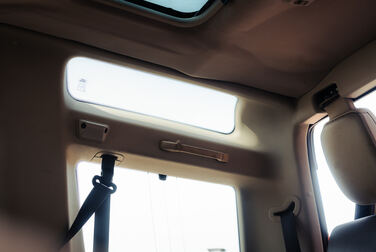
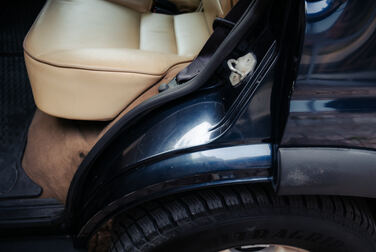
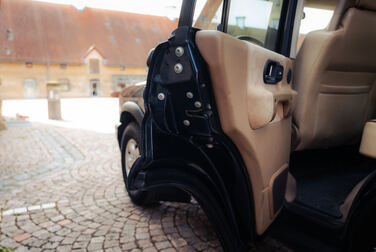
Interior image of 1999 Land Rover Discovery II V8 (16)
chevron_left
chevron_right
  • #<Image:0x00007f727560e9d0>
  • #<Image:0x00007f727560e890>
  • #<Image:0x00007f727560e750>
  • #<Image:0x00007f727560e610>
  • #<Image:0x00007f727560e4d0>
  • #<Image:0x00007f727560e390>
  • #<Image:0x00007f727560e250>
  • #<Image:0x00007f727560e110>
  • #<Image:0x00007f727560dfd0>
  • #<Image:0x00007f727560de90>
  • #<Image:0x00007f727560dd50>
  • #<Image:0x00007f727560dc10>
  • #<Image:0x00007f727560dad0>
  • #<Image:0x00007f727560d990>
  • #<Image:0x00007f727560d850>
  • #<Image:0x00007f727560d710>
  • #<Image:0x00007f727560d5d0>
  • #<Image:0x00007f727560d490>
  • #<Image:0x00007f727560d350>
  • #<Image:0x00007f727560d210>
  • #<Image:0x00007f727560d0d0>
  • #<Image:0x00007f727560cf90>
  • #<Image:0x00007f727560ce50>
  • #<Image:0x00007f727560cd10>
  • #<Image:0x00007f727560cbd0>
  • #<Image:0x00007f727560ca90>
  • #<Image:0x00007f727560c950>
  • #<Image:0x00007f727560c810>
  • #<Image:0x00007f727560c6d0>
  • #<Image:0x00007f727560c590>
  • #<Image:0x00007f727560c450>
  • #<Image:0x00007f727560c310>
  • #<Image:0x00007f727560c1d0>
  • #<Image:0x00007f727560c090>
  • #<Image:0x00007f727560bf50>
  • #<Image:0x00007f727560be10>
  • #<Image:0x00007f727560bcd0>
  • #<Image:0x00007f727560bb90>
  • #<Image:0x00007f727560ba50>
  • #<Image:0x00007f727560b910>
  • #<Image:0x00007f727560b7d0>
  • #<Image:0x00007f727560b690>
  • #<Image:0x00007f727560b550>
  • #<Image:0x00007f727560b410>
  • #<Image:0x00007f727560b2d0>
  • #<Image:0x00007f727560b190>
  • #<Image:0x00007f727560b050>
  • #<Image:0x00007f727560af10>
  • #<Image:0x00007f727560add0>
  • #<Image:0x00007f727560ac90>
  • #<Image:0x00007f727560ab50>
  • #<Image:0x00007f727560aa10>
  • #<Image:0x00007f727560a8d0>
  • #<Image:0x00007f727560a790>
  • #<Image:0x00007f727560a650>
  • #<Image:0x00007f727560a510>