Vi vill placera cookies på din enhet för att ge dig en bättre upplevelse av vår webbplats. För mer information om cookies på Bidders Highway, läs här:
Cookiepolicy
Acceptera
Avvisa
chevron_left
Tillbaka till objektet
chevron_left
chevron_right
Exteriör
Interiör
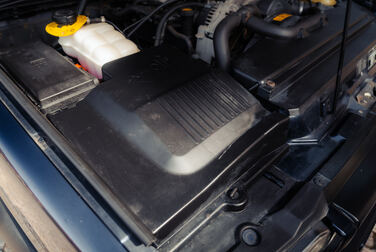
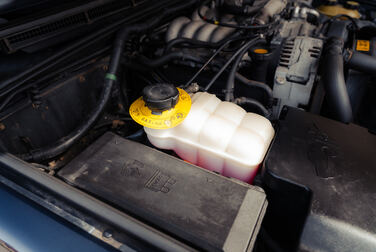
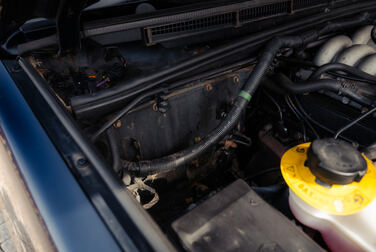
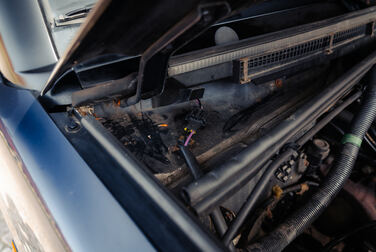
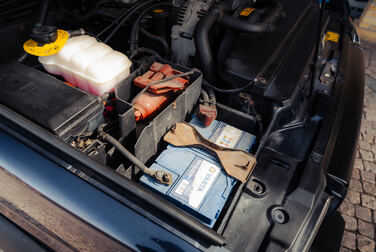
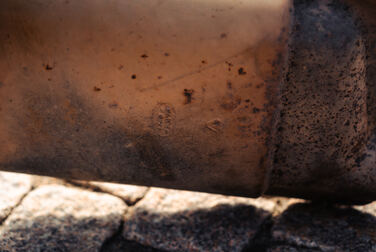
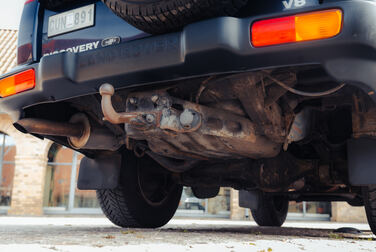
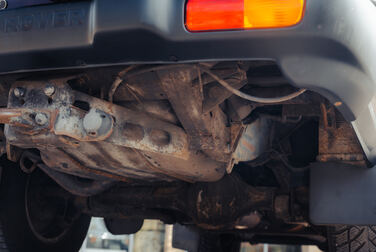
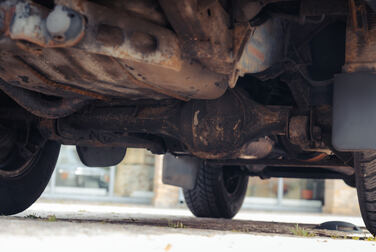
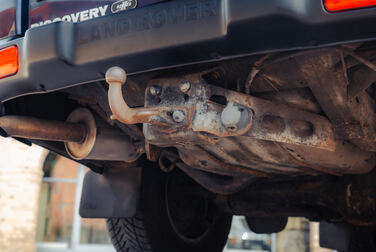
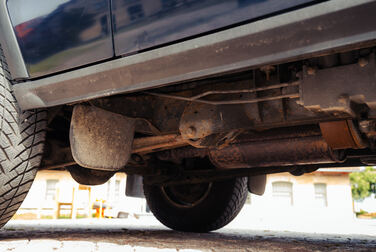
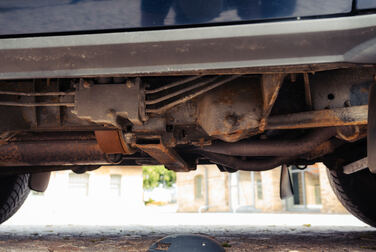
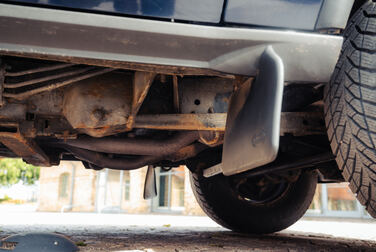
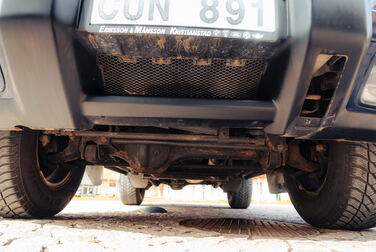
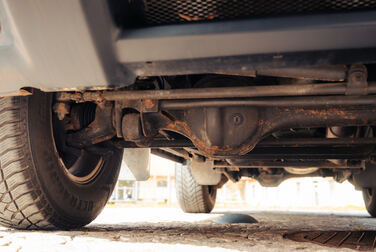
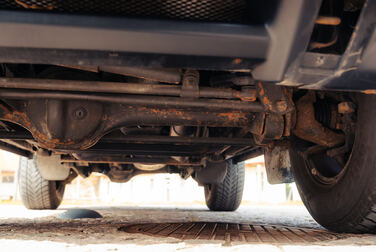
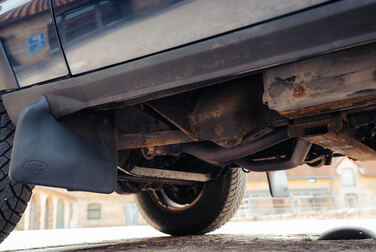
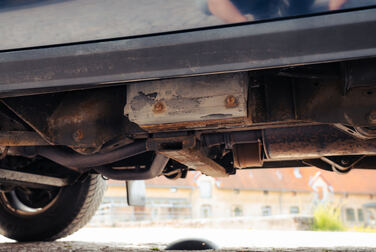
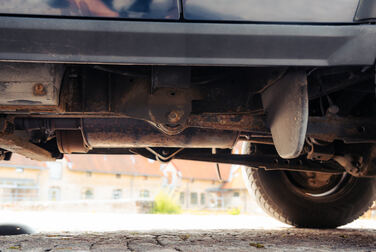
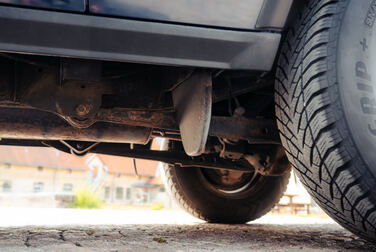
Mekanik
Dokumentation
Övrigt