chevron_leftZurück zur Auktion
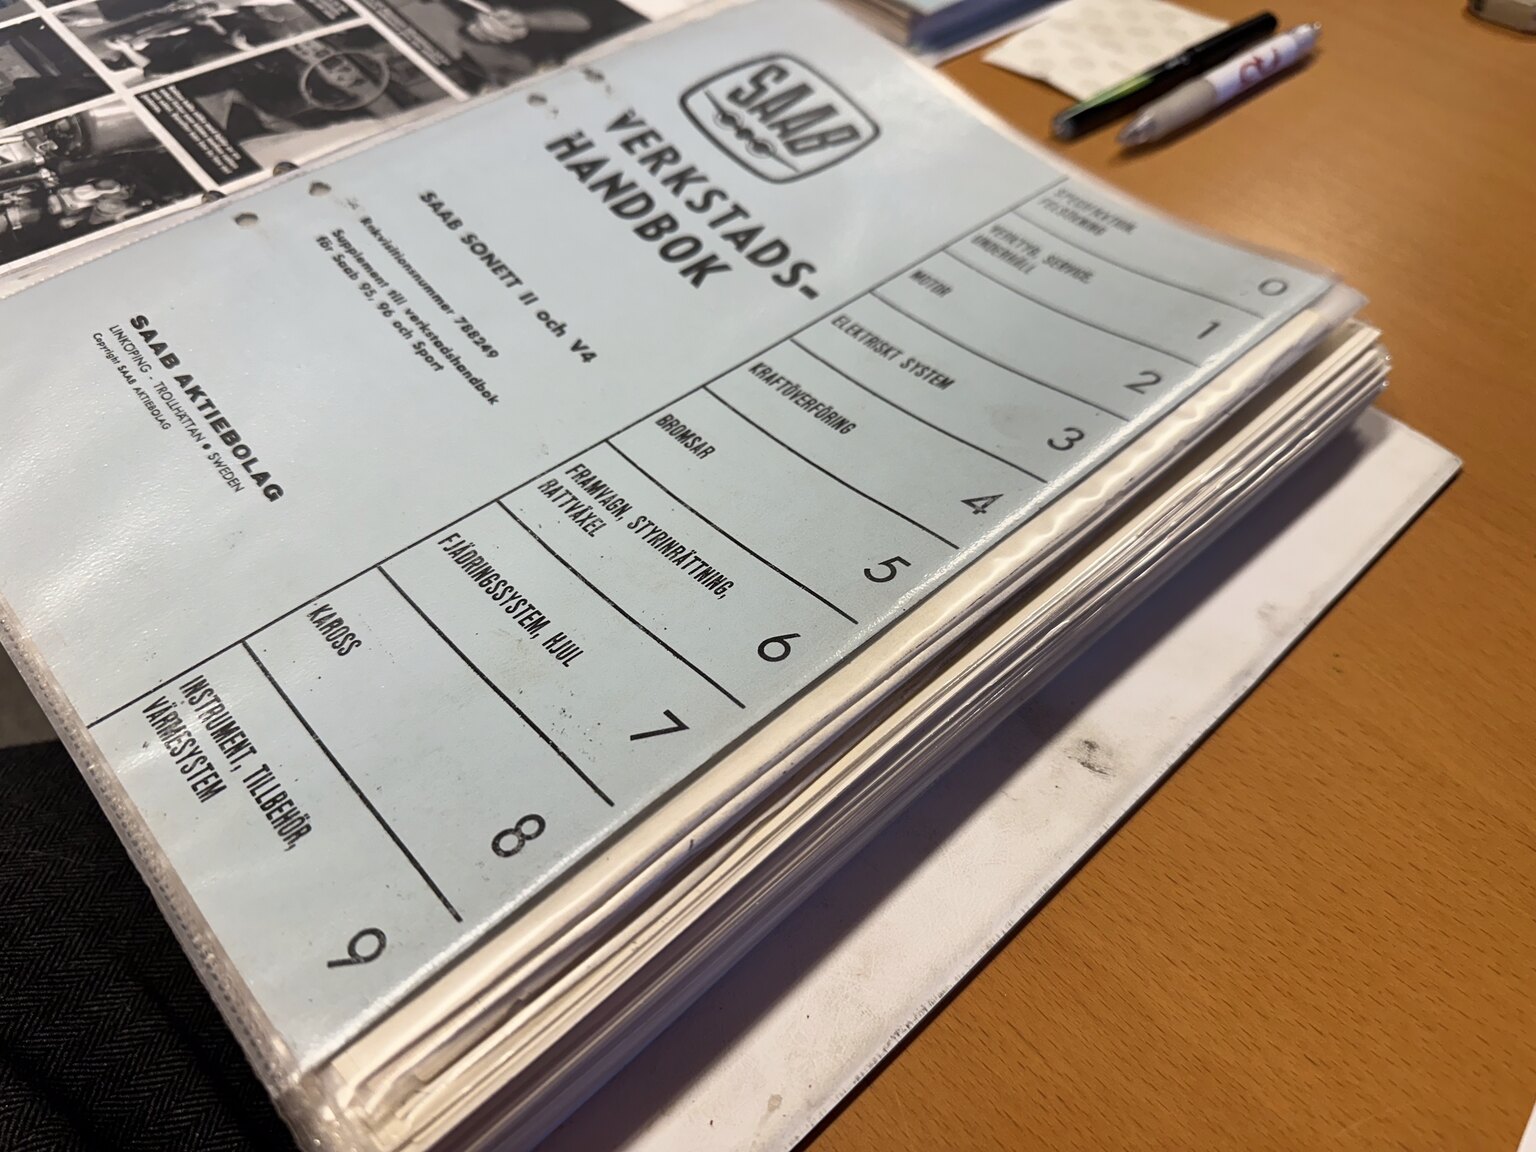
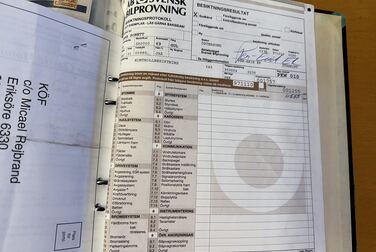
Dokumentation, 1969 Saab Sonett II (3)
chevron_left
chevron_right
  • #<Image:0x000075d43ae6f8c8>
  • #<Image:0x000075d43ae6f788>
  • #<Image:0x000075d43ae6f648>
  • #<Image:0x000075d43ae6f508>
  • #<Image:0x000075d43ae6f3c8>
  • #<Image:0x000075d43ae6f288>
  • #<Image:0x000075d43ae6f148>
  • #<Image:0x000075d43ae6f008>
  • #<Image:0x000075d43ae6eec8>
  • #<Image:0x000075d43ae6ed88>
  • #<Image:0x000075d43ae6ec48>
  • #<Image:0x000075d43ae6eb08>
  • #<Image:0x000075d43ae6e888>
  • #<Image:0x000075d43ae6e748>
  • #<Image:0x000075d43ae6e608>
  • #<Image:0x000075d43ae6e4c8>
  • #<Image:0x000075d43ae6e388>
  • #<Image:0x000075d43ae6e108>
  • #<Image:0x000075d43ae6dfc8>
  • #<Image:0x000075d43ae6de88>
  • #<Image:0x000075d43ae6dd48>
  • #<Image:0x000075d43ae6dc08>
  • #<Image:0x000075d43ae6d988>
  • #<Image:0x000075d43ae6d848>
  • #<Image:0x000075d43ae6d708>
  • #<Image:0x000075d43ae6d5c8>
  • #<Image:0x000075d43ae6d488>
  • #<Image:0x000075d43ae6d208>
  • #<Image:0x000075d43ae6d0c8>
  • #<Image:0x000075d43ae6cf88>
  • #<Image:0x000075d43ae6ce48>
  • #<Image:0x000075d43ae6cd08>