Wir möchten Cookies auf Ihrem Gerät platzieren, um Ihr Erlebnis zu verbessern. Wenn Sie mehr über unsere Cookie-Richtlinien erfahren möchten, besuchen Sie diesen Link:
Cookie-Richtlinie
Akzeptieren
Ablehnen
chevron_left
Zurück zur Auktion
chevron_left
chevron_right
Äußeres
Innen
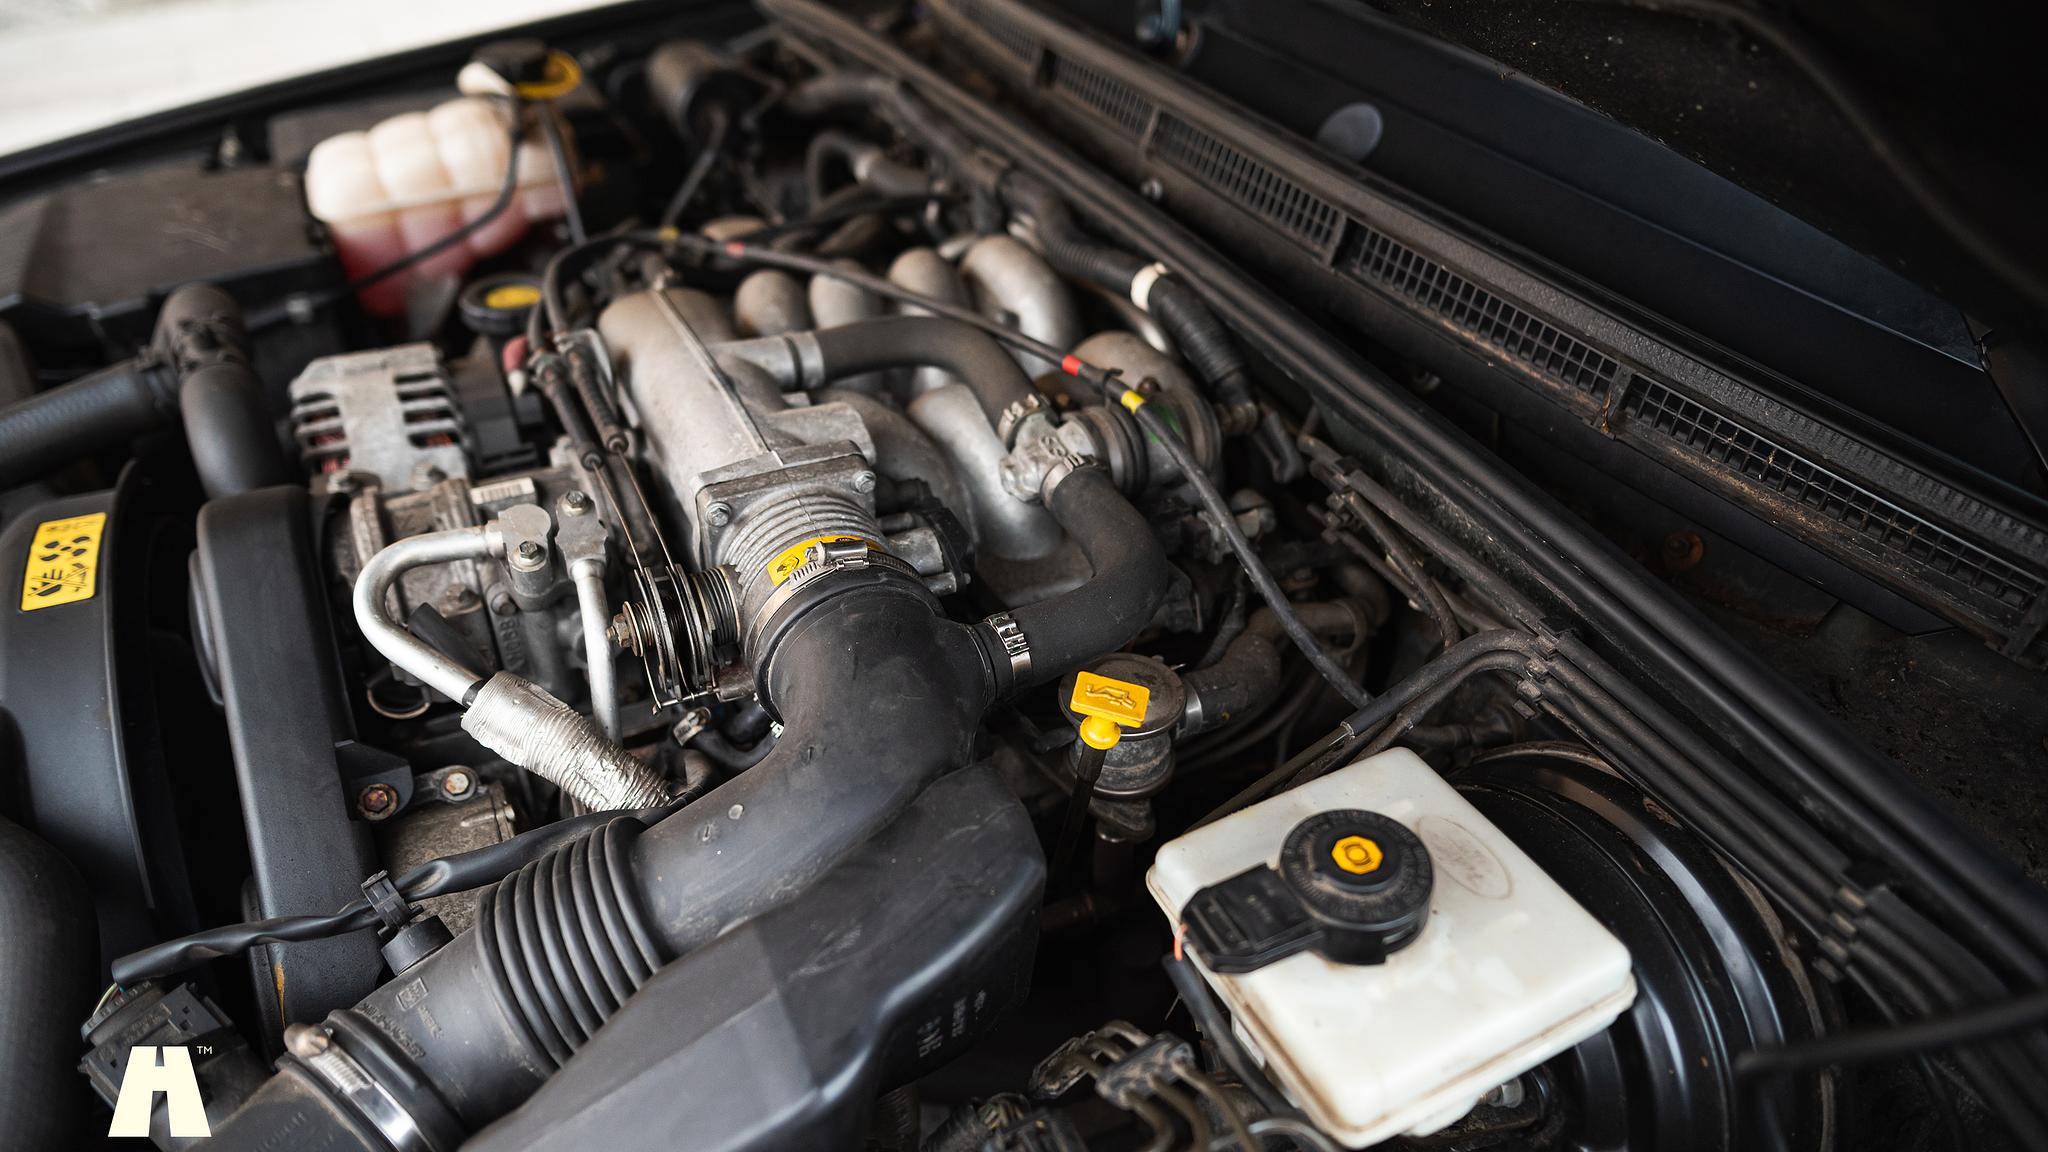
Mechanik
Dokumentation